Ear infections are the second most common reason dogs visit the vet, so tending to your pup’s aural health should definitely be a priority. But how often is best when it comes to cleaning your dog’s ears at home? Under-cleaning can allow infection-causing yeast and bacteria to build up, while over-cleaning can strip away healthy wax and lead to irritation.
A healthy amount of wax in your dog’s ears actually helps lubricate and protect the delicate skin of the canals from infection. You want that healthy layer to remain, so cleanings should really only be performed when the ears are “dirty.”
The length of time it takes for a dog’s ears to get dirty depends on breed, coat, activity level, wax production, and even humidity. In other words, it varies for every dog. Veterinarians typically recommend once-monthly cleanings as a basic rule of thumb for dogs with “normal” ears. However, dogs that swim, roll in the dirt, or have a predisposition to infections may need more frequent attention.
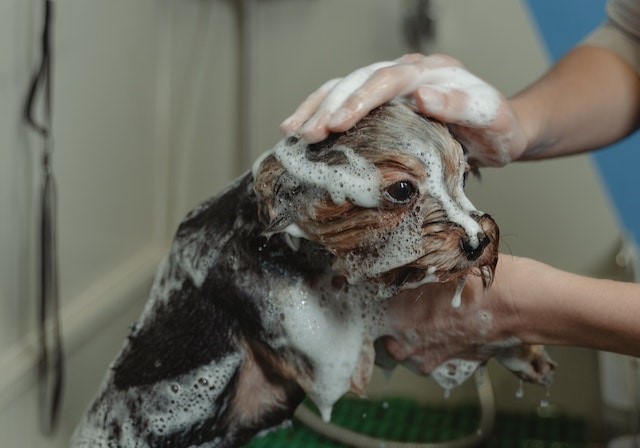
Check the ears each time you bathe your pup or after a vigorous play session, like a trip to the dog park. A simple wipe of the outer ear and pinna (ear flap) is usually enough for healthy ears that have gotten a bit dirty. Apply a small amount of an appropriate, vet-approved cleanser to a cotton ball and simply swab the easy-to-reach outer folds of the ear.
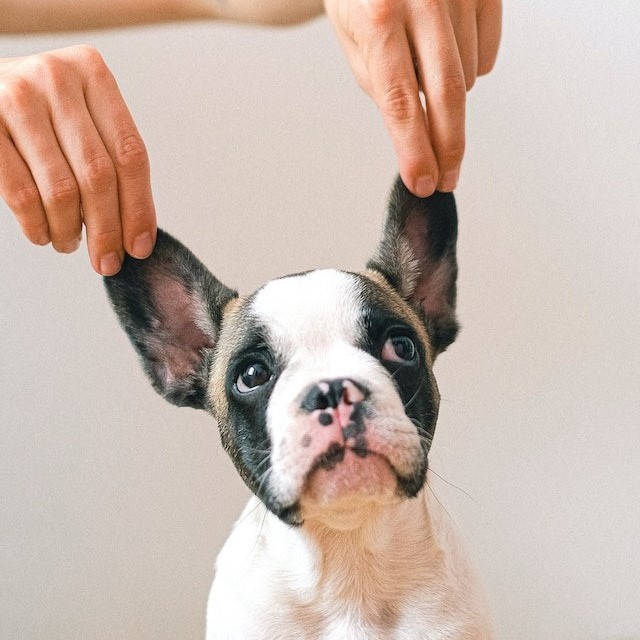
To determine if it is time for a good ear flushing, lift the pinna and look inside. Do you notice dirt, debris, or excess brown buildup in the outer ear? If so, it may be time to break out the cleanser and do a more thorough job by cleaning out the L-shaped horizontal ear canal.
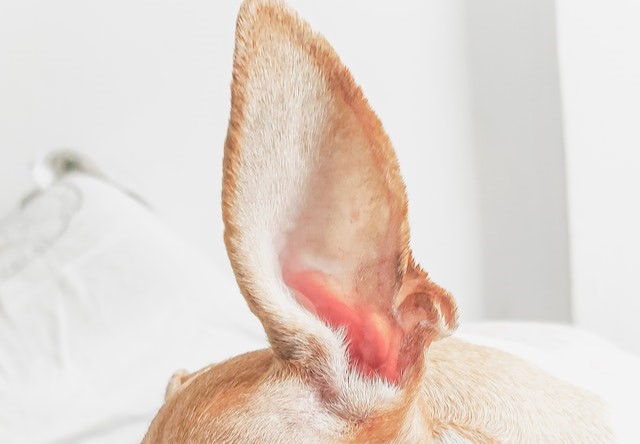
However, before you start scrubbing away, make sure that your pooch is not suffering from an ear infection. If you notice any of the following symptoms along with debris or discharge, do not attempt to clean the ears; consult your vet right away:
- Odor from the ears
- Pruritic discharge (pus) or blood
- Excess scratching, pawing or rubbing at the ears
- Violent head shaking or “ear snapping”
- Redness and/or swelling of the pinna or ear canal
- Sensitivity or pain when ears are touched
It is important to make sure that your dog always has positive experiences when it comes to home care so that he or she will trust you with these treatments in the future. When in doubt, it’s best to check in with your vet.
These statements have not been evaluated by the Food and Drug Administration. This product is not intended to diagnose, treat, cure, or prevent any disease. The information on this website is not intended to replace a one-on-one relationship with a qualified health care professional.
 Toledo, United States.